
Sew the center front body panel (piece C) to the side front body panel (piece D).
Press seam allowances open.
 Time for your invisible zipper and liquid fray preventer!
Pin the zipper facing (piece G) to the back of the front assembly, wrong sides together, with center edges flush.
Time for your invisible zipper and liquid fray preventer!
Cut off the excess zipper tape at the top of the zipper, above the zipper stop, and apply your liquid fray preventer to the new edges.
Place the top of the zipper 1" from the top edge of the center front.
Remove the pins holding the front body panel and facing together and re-pin them with the zipper on top.

We recommend chalk-marking and/or pinning 1" from the top edge of the jumpsuit body AND 1" from the top of the zipper, as demonstrated above.
Starting 1" from the top of the zipper, using your invisible zipper foot, attach the invisible zipper as you normally would, except for sewing through these multiple layers and leaving the top dangling free.
When closing the lower fronts, sew the center fronts together along the lower edge through all layers, as you normally would if it were only a single layer.

 Pull the free top 1" of the zipper out of the way and horizontally clip from the center front edge to the end of the stitch line.
 |
| (DS9/NEM duty jumpsuit pictured) |
We recommend cutting a ⅛" angle for front opening option #2 and a ¼" angle for front opening option #3 (as pictured to the right), with the bottom of the cut starting 1" from the top edge (even with the top of the zipper, in this case).
Don't worry about cutting off the overlocked edges and don't overlock them again; they'll need to be separated shortly and they're going to get sewn in, anyway.
Open the front/front facing assembly so all right sides are facing upward.

Fold the facing over onto the center front body panel so the right sides are together, with the zipper in-between.

Turn out the top seam allowances from the clip upward.
 |
| (DS9/NEM duty jumpsuit pictured) |
Sew the top seam allowances closed. (We find it easiest to use a zipper/piping foot for this.)
 |
| (DS9/NEM duty jumpsuit pictured) |
If you cut your yoke with front opening option #2 or #3 and you cut a slight angle at the top of your center front/front facing (see above), cut a small notch into the side of the seam allowance you just sewed.
 |
| (It doesn't need to be that big. Also, DS9/NEM duty jumpsuit pictured.) |
Turn the facing back to the underside of the jumpsuit (wrong sides together, like it was before).
Press the top seam allowances under.
 |
| (DS9/NEM duty jumpsuit pictured) |
Open the facing again, so the body and facing right sides face upward.
Using your regular sewing foot, sew the tape of the invisible zipper to the "zipper tab" and facing - i.e. through all layers.

Also sew a horizontal stitch 1" from the top of the zipper to further secure it where it's left free.

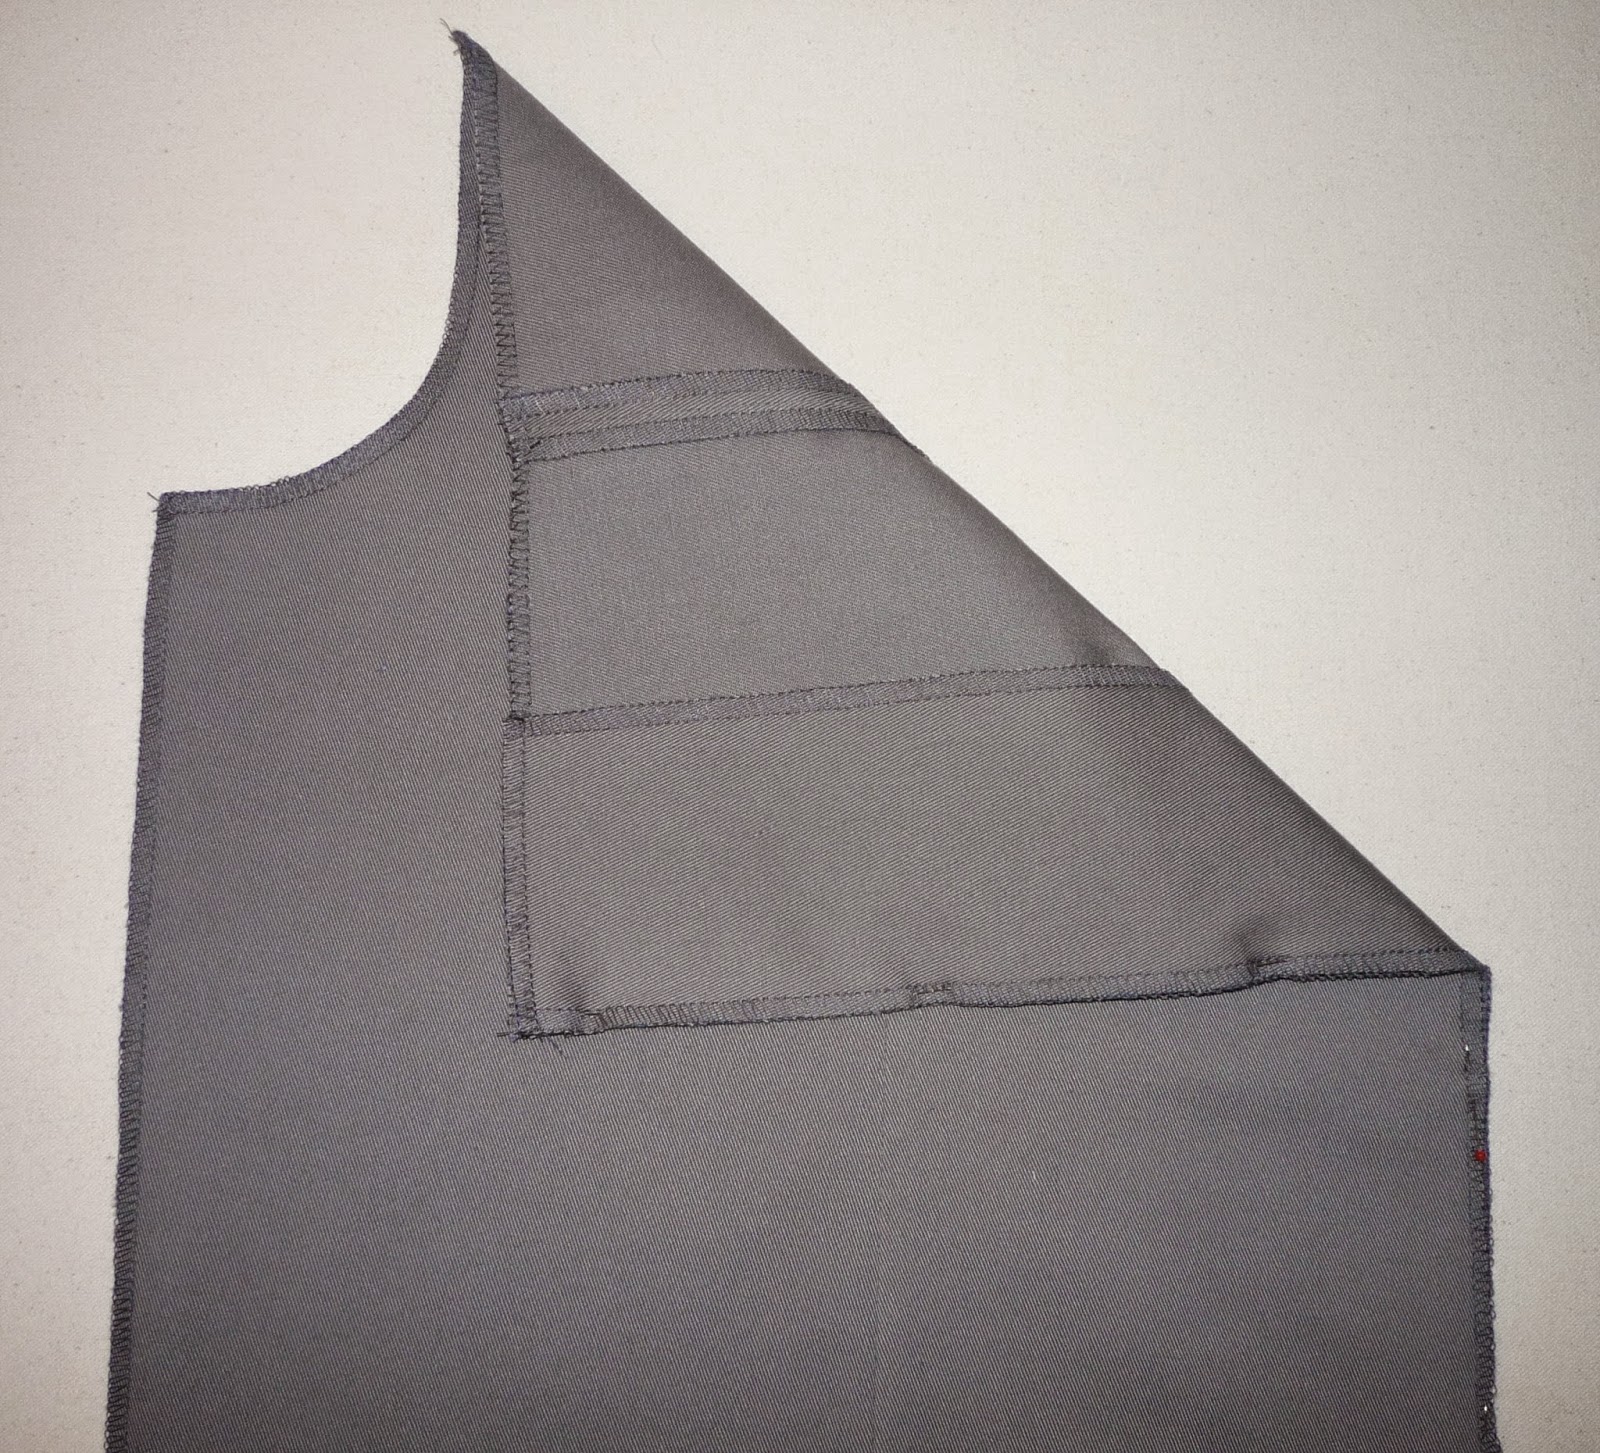
Your jumpsuit's finished front body assembly should look like this:

I know, if you're used to the normal way invisible zippers are installed, trying this technique can seem ... peculiar ... at first.
 |
| Mmm ... that's weird. |
But trust me, when it's all said and done, it's going to look fantastic!
PREVIOUS: Tutorial, part 4 - Yoke Trim
NEXT: Tutorial, part 6 - Back Body
No comments:
Post a Comment